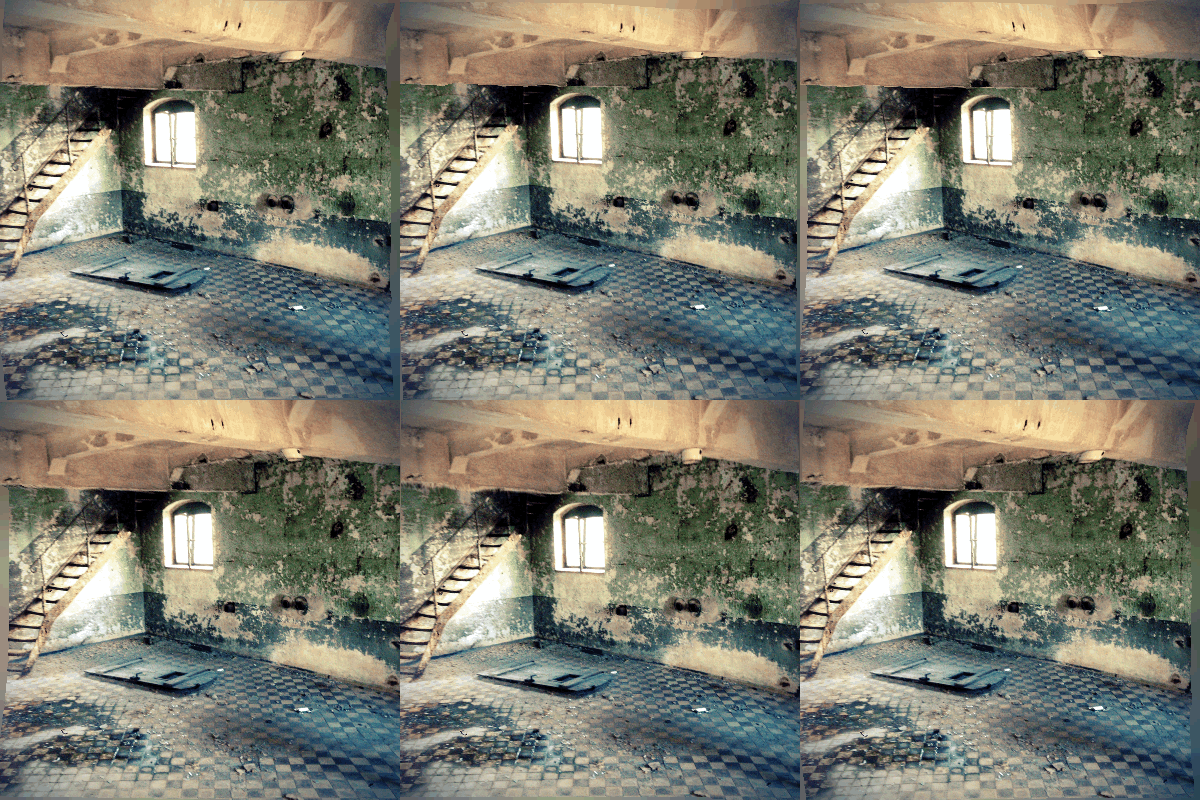
See the full Alt Sternburg Brauerei Set on Seene
Print-Pro-Matic IE Print Dialogue Issue
Yay. Another IE issue with Print-O-Matic & Print-Pro-Matic.
This page is currently testing Print-O-Matic Version: 1.6.7b
This print button should print a larger version of the thumbnail image of the donkey below.


Wonky Submit & Print-Pro-Matic Button
This is a Dr. Frankenstein experiment with Contact Form 7’s Submit button and the Print-Pro-Matic Print external trigger. When the user clicks submit, the form should also force-launch the print dialogue. Years of working in UI tells us NOT do this, but people still have music playing on page load, so what do we know.
[[contact-form-7 id="1018" title="SubPrint"/]]
To cross-breed the Submit button with the print-pro-matic print trigger, just follow the following steps.
- In the form: add a cf7 submit/print button, and assign it a unique ID (in this case subprint) and a class of printme_trigger like so:
[submit id:subprint class:printme_trigger]
- In the post that the form shortcode is displayed on: simply target the form to be printed and assign the external_trigger attribute the id of the external print/submit button:
[print-me target="#wpcf7-f1018-p2316-o1i" external_trigger="subprint"/]
Update: Submit & Print With Validation
The above will work nicely if there is no validation to consider. However if we only want to print the form after it has passes validation we need another approach.
First: We will not actually have the print triggered via clicking the submit button, so we can remove the id and class in the submit tag in the form:
[submit]
If the submit button does not trigger the print what will? If you notice in the Contact Form 7 edit page, there is an Additional Settings tab. Here we can use Contact 7 own on_sent_ok: to trigger the print like so:
on_sent_ok: "print_trigger('my_print_trigger');"
Now, finally, we must provide an ID to our hidden print-me shortcode:
[print-me id="my_print_trigger" target="#wpcf7-f1018-p2316-o1" external_trigger="on_sent_ok"/]
Demo
deactivated due to spam abuse.
[[contact-form-7 id=”1018″ title=”SubPrint”/]]
Print-Pro-Matic Advanced External Triggers
- new
printme_triggerclass that turns anything into a print trigger - new
external_triggershortcode element to enter the id or ids of the element(s) that should be used as an external trigger
And this is how it works:
First we need an element that has a unique id. There must also be the ability to add the printme_trigger class to it.
<button id="my_button" class="printme_trigger">Print</button>
Next we add the print-me shortcode like normal… but also add the external_trigger attribute like so:
[print-me target="#intro_text" external_trigger="my_button"/]
And that’s it! Note: The external_trigger attribute can accept a comma separated list of multiple id’s. Also: When an external_trigger attribute is assigned, no standard print-pro-matic icon or text will be displayed, as the external trigger will be used instead.
Collapse-Pro-Matic Advanced External Triggers
There are times when it would be nice to turn ANY element into an external trigger for a collapse element. So as of Collapse-Pro-Matic v 1.2.9f we have added:
- new
colomat_triggerclass that turns anything into a trigger - new
external_triggershortcode element to enter the ids of the elements that should be used as an external trigger - new
data-external-elementattribute that can be used for roll-your-own collapse elements - new
colomat_expand_onlyclass that prevents the external trigger from collapsing the target, only expand - new
colomat_collapse_onlyclass that prevents the external trigger from expanding the target, only collapse
And this is how it works:
take any element, make sure it has a unique id and the colomat_trigger class assigned.
<h4 id="funkmaster" class="colomat_trigger">Bootsy</h4>
Bootsy
additional external link can be assigned, and external links that will only expand (not collapse) the target:
<h4 id="flash" class="colomat_trigger colomat_expand_only">Grandmaster Flash</h4>
Grandmaster Flash
Next, assign the ID of the external id (or multiple ids) using the external_trigger attribute:
[expand title="Who has the funk?" external_trigger="funkmaster flash"]You got the funk![/expand]
Collapse-Pro-Matic Class Triggers
As of version 1.3.2 of Collapse-Pro-Matic an external trigger can also be assigned to any element using only class names. For example, using a WordPress menu element, where only the classes can be assigned. The following classes must be added to the trigger:
- collapseomatic
- noarrow
- colomatclasstrigger
- colomatid-[the_target_id]
[expand title="This is the Master Trigger" id="multi-trigger"]
Links
The following is a link that has an href attribute of “#multi-trigger” and a class of “expandanchor”. Clicking this will scroll-to and expand-only the element.
<a class="expandanchor" href="#multi-trigger">Anchor Link to Multi-Trigger%lt;/a>Buttons
Buttons are not links, however if it contains the same href and class values as the link above it will expand-only the target, just not scroll to it.
<button class="expandanchor" href="#multi-trigger">Button to Multi-Trigger</button>Buttons Wrapped in a Link
This is basically a button that is wrapped in a link described above. Notice that the text link must be clicked, not the button.
<a class="expandanchor" href="#multi-trigger"><button>Anchor Button linked to Multi-Trigger</button></a>Link Wrapped in a Button
This is a link that is wrapped in a button as described above:
<button><a class="expandanchor" href="#multi-trigger">Button Anchor linked to Multi-Trigger</a></button>Special Applications: Buttons
Here are a few ordinary buttons, each assigned with a) a unique id, and b) colomat_trigger colomat_expand_only and snap-shut classes like so:
<button id="button_one" class='colomat_trigger colomat_expand_only snap-shut'>Button One</button>Each button needs to correspond to a target. Normally to create the target it would be part of the trigger but we add the narrow and hidden classes using the trigclass attribute and remove the target padding using the targclass attribute like so:
[expand title="Button 1" external_trigger="button_one" rel="buttons-highlander" trigclass="noarrow hidden" targclass="no_left_margin"]Button One[/expand]We then added the following CSS under the Custom CSS area of the theme (if available) or the collapse-pro-matic plugin settings:
.hidden {
   display: none;
}
.no_left_margin {
   margin-left: 0;
}T(-) Countdown Control Timer Icon
Collapse-Pro-Matic – Pesky Hash-Bang URLs
This is a hash-bang: #!
Hash-bangs cause havoc or a number of reasons, but there is at least one example that directly affects how Collapse-O-Matic and Collapse-Pro-Matic process URLs. Take external triggers, for example:
[expand title="question 1" id="q1"]answer 1[/expand]
[expand title="question 2" id="q2"]answer 2[/expand]
<a class="expandanchor" href="#q1">expand question 1</a>
<a class="expandanchor" href="https://spacedonkey.de/2207/collapse-pro-matic-pesky-hash-bang-urls/#q2">
External link to expand question 2 from anywhere.
So far, so good. But now, we add a link with a hash-bang:
<a class="expandanchor" href="https://spacedonkey.de/2207/collapse-pro-matic-pesky-hash-bang-urls/#!/monkey/wrench/#q2">answer 2 with a hash-bang monkey-wrench</a>
Collapse-Pro-Matic New Highlander Grouping Class Tricks
This is a test of a new highlander grouping class system that allows CSS and jQery to target the various stages of highlander grouping elements. The following elements have the rel="animal-highlander" attribute assigned. When a single element is expanded, then all closed elements in the group will be assigned a class of animal-highlander_closed. When all elements are collapsed none of the elements in the group will have this class assigned.
CSS
.animal-highlander_closed {
    color: #cccccc;
}
Shortcode
[expand title="Monkeys" rel="animal-highlander"]...[/expand]
[expand title="Donkeys" rel="animal-highlander"]...[/expand]
[expand title="Ninjas" rel="animal-highlander"]...[/expand]
Example
Extra Elements
What if we wanted a non-expand element to also be affected by the magic shown above? For example, what if an image should only be displayed when none of the highlander grouped elements where expanded. Hmmm, good question. Let’s see. The first idea would be to simply assign the same rel="[group_name]-highlander" attribute to the image. This will work, but what if it’s simply not possible to assign a rel attribute to an image? We have expanded the plugin to also search for any element that has a class that matches the value of the expand groups rel value. So simply add a [group_name]-highlander class to any element you want assigned the [group_name]-highlander_closed class when a single element is expanded.
CSS
.duck-highlander_closed {
    display: none;
}
External Element
<img src="https://spacedonkey.de/wp-content/uploads/2012/09/grillhead-225x300.jpg" alt="grillhead" width="225" height="300" class="alignnone size-medium wp-image-338 duck-highlander" />
Shortcode
[expand title="Huey" rel="duck-highlander"]...[/expand]
[expand title="Dewey" rel="duck-highlander"]...[/expand]
[expand title="Louie" rel="duck-highlander"]...[/expand]
Example

Print-Pro-Matic Inject Logo Before Print Element
This is a quick test to inject a logo at the top of a print-pro-matic page using only css.
In this case, the print element has a class of #post-2182 and it is targeted as normal:
[print-me target="#post-2182"]
However now we add the following css to the our theme:
@media print {
   #post-2182::before {
      content: url(https://spacedonkey.de/wp-content/uploads/2012/09/ninja_turtles-300x223.jpg);
   }
}
This will place the logo in the ::before pseudo class of the targeted print element on the print page. however if the images does NOT exist on the page then it will not have enough time to load before print is triggered. Let’s try it out:
[print-me target="#post-2182" pause_before_print="500"/]Probably now image right? Now click the print icon again. Image. How to solve this?
Guess we need to use top_html and bottom_html to define custom content and provide a bit of pause_before_print time.
Print-Pro-Matic External CSS Test
Print-Pro-Matic allows loading in an external css file for the print view, rather than have to manually entered all definitions in to the Custom CSS area.
For example, this should load in a css file that gives the target element a lovely purpley dotted border:
[print-me css_url="https://spacedonkey.de/wp-content/uploads/2015/07/purpeat.css" target=".purpeoeater"]
Flyin’ Purple People Eater
Well, bless my soul rock ‘n roll flying’ purple people eater
Pigeon-toed under-growed flyin’ purple people eater
One-eyed one-horned it was a people eater
What a sight to see!
