This is a test of the WP Featherlight pop-up modal with a print-o-matic trigger.
Print-Pro-Matic Lazy-load Image Test
By default, WordPress will add loading=”lazy” to all img tags that have width and height attributes present. Normally this is desired. However, if a page has many images and is to be printed, often times images further down the page have not yet loaded, leaving large spaces as placeholders for when the user finally scrolls down that far and the image loads. Good for the web, bad for a PDF.
Print-Pro matic now offers the option to selectively turn-off this default loading="lazy" attribute for images for the entire site.
Below is a series of images with width and height defined. By default lazy-load should be enabled, but with the option turned on, the lazy-load is disabled, allowing the images to fully load on the page in preparation for printing.
The New Print View Method
The more advanced method is by using a custom print_view variable that turns off the lazy-load only when the print is triggered. To accomplish this, first add the following to the child-theme’s function.php file: (note, this is no longer required as of version 2.1.2)
function printpromatic_query_var( $vars ) {
	$vars[] = 'print_view';
	return $vars;
}
add_filter( 'query_vars', 'printpromatic_query_var' );

function print_with_no_lazy_load() {
    if ( get_query_var( 'print_view' ) ) {
        return false;
    }
	return true;
}
add_filter( 'wp_lazy_loading_enabled', 'print_with_no_lazy_load' );
Next we add the print-me shortcode with a unique ID and url using the %print_view% placeholder:
[print-me id="donkey" url="%print_view%"/]Ad of version 2.1.2 there is a new option to add the print_view query var from the plugin options page–so no need to manually add this to the child-theme’s function.php file. This option will also add the print_with_no_lazy_load function. Version 2.1.2 also added a url_target attribute to allow the print version to load in the same tab:
[print-me id="monkey" url="%print_view%" url_target="_self"/]


Print-Pro-Matic Print External URL
This is a test to see if print-pro-matic can print an external URL:
[print-me url="https://docs.google.com/spreadsheets/d/e/2PACX-1vSC6kmo4lmXRBc7QHMmg_s2Dq4LBg0FHclszFjAhCW_wYo814nBWM_mQhAryRayPNdQJLCXw0gNVbPo/pubhtml"/]
There will be an issue with cross domain origin, however a url on the same domain can be printed:
[print-me url="https://spacedonkey.de/donkey/donkey-in-a-bucket/"/]Print-O-Matic non existing element test
This is a test to see how print-o-matic and print-pro-matic handle targeting a non-existing element:
No element? no problem… do nothing.
Now what happens if we have one element that does not exist in a list of elements:
This is a little div with an id of ‘printbox’
Print-O-Matic External Print Trigger – Target by Class
As of print-o-matic version 2.0.1 the ability to use class to target a print element in external print triggers has been added. Basically it works the same as using the data-print_target attribute but instead uses a unique classname in the format of printtarget-<target_id>.
Step 1
Create a target element. The element below is a div with an id of ‘my_print_target’:
<div id="my_print_target">This is the print target wrapped in a div with an element of 'my_print_target' as explained above</div>This is the print target wrapped in a div with an element of ‘my_print_target’ as explained above
Step 2
Add an external trigger using the new class-trigger method. We’ll use a simple button like so:
<button id="my_print_button" class="printomatic printtarget-#my_print_target">Print Trigger</button>
Step 3
Like in the original example, we need to add the hidden print trigger using a print-me shortcode with the same id as our external trigger and a printstyle=”external” attribute:
[print-me id="my_print_button" printstyle="external"/]Print-Pro-Matic Optional No-Print
In this example, the option to include a specific element is provide by using a checkbox. This feature was introduced in Print-Pro-Matic version 2.0-beta-210121
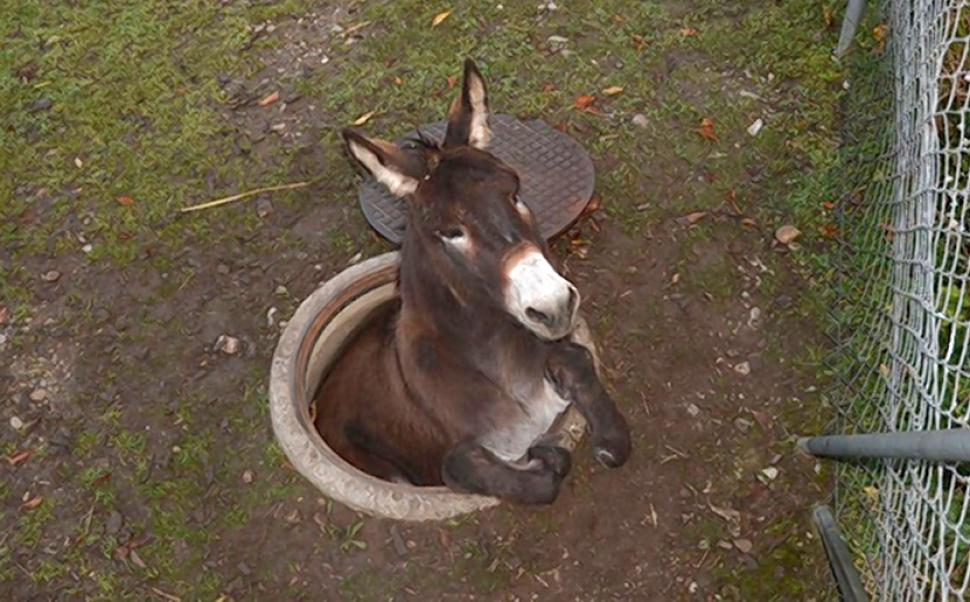
The default print target will be the article element. The image of the donkey has been assigned a class of ‘logo’. Now we need to create our print trigger and a checkbox:
[print-me title="Print Trigger"/]

<label><input type="checkbox" id="ppm_odnp" value=".logo">Donkey Free Print</label>
The checkbox must have an ID of ppm_odnp (because print-pro-matic optional do not print is a bit long). The value is the optional do not print selector, so .logo is for items with a class of ‘logo’, while #logo is an item with an id of ‘logo’.
Here is a working demonstration.
Print Trigger
Print-Pro-Matic LaTeX2HTML Test
Print-Pro-Matic Placeholder Attribute
The placeholder attribute is used to add the print-me data to the page when print trigger and target will be added dynamically, for example: via AJAX or a Modal Window.
[print-me target="#print_me" placeholder="true"/]This will not add the trigger to the page, just the targeting info for when the trigger is later displayed.
Custom Print Templates for Print-Pro-Matic
Note: This post assumes a basic understanding of WordPress templates and that a child-theme is being used.
To create a custom print template we first need to define a query var to trigger the template.
Add the following to the child-theme’s function.php file:
function printpromatic_query_var( $vars ) {
	$vars[] = 'print_view';
	return $vars;
}
add_filter( 'query_vars', 'printpromatic_query_var' );
Now WordPress will look for something like /?print_view=true at the end of any url.
Next step is to a) define a unique ID for the print trigger and b) tell print-pro-matic to use the current page with the print_view query variable tacked on the url. Do this by setting the url attribute using the %print_view% placeholder as its value:
[print-me id="some_id" url="%print_view%"/]Finally we need to check for this print_view query var and either a) use a custom print-only template file or b) modify the current page template to switch to a print-only view.
Redirect to Print-Only Template
If a print-only template exists simply redirect to this template file by adding the following code to the child-theme’s function.php file:
function printpro_print_template($original_template) {
    if ( get_query_var( 'print_view' ) ) {
		$new_template = locate_template( array( 'print-template.php' ) );
        return $new_template;
    }
	return $original_template;
}
add_filter( 'template_include', 'printpro_print_template' );
This could be expanded further to support multiple print-only templates based on a value passed to print_view:
[print-me id="monkey_id" url="%print_view=monkey%" title="print monkey"/]
[print-me id="donkey_id" url="%print_view=donkey%" title="print donkey"/]
print monkey
print donkey
This would require that our function be modified to use the correct print template based on the print_view query var:
function printpro_print_template($original_template) {
    $print_view = get_query_var( 'print_view' );
    if ( !empty( $print_view ) ) {
        if($print_view == 'monkey'){
            $new_template = locate_template( array( 'print-template-monkey.php' ) );
        }
        else if ( get_query_var( 'print_view' ) == 'donkey' ){
	    $new_template = locate_template( array( 'print-template-donkey.php' ) );
        }
        if(!empty($new_template)){
            return $new_template;
        }
    }
    return $original_template;
}
add_filter( 'template_include', 'printpro_print_template' );
Modify the Existing Template
This method involves modifying the current page template to change what it displays based on the presence of the print_view query var.
In the page template being used, we need to check if the query_var is present:
$print_view = get_query_var( 'print_view' );Now we need to simply wrap the existing template elements in an if statement:
//normal
if( empty($print_view) ){
   ...
}
//print only
else{
   ...
}Print-O-Matic and Print-Pro-Matic Preventing Split Images Across Pages
In the case of a large gallery of images, it could happen that a page break would split images across pages.
For example, what happens when this gallery is printed?