
Change Open Close Arrows
First create and upload two images. One image for the collapsed state, one for the expand state.
In this example we are using the following images:
![]()
![]()
Next we want to create a new class for these arrows. We are going to use the name greenballs. The class definitions need look like so:
CSS
.collapseomatic.greenballs {

    background-image: url(full_url_to_collapsed_icon.png);

}

.colomat-close.greenballs {

    background-image: url(full_url_to_expanded_icon.png);

}
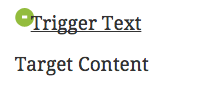
Now we need to assign the trigclass attribute our value of ‘greenballs’
[expand title="Trigger Text" trigclass="greenballs"]Target Content[/expand]
This will produce the following:

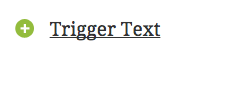
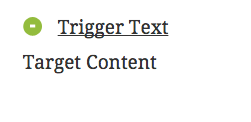
Now we need to adjust the padding so that the left side of the trigger text is not so smashed-up against the icons. To adjust the vertical centring we need to adjust background-position of the background url as well. Here is how the CSS will look after we make these changes:
CSS
.collapseomatic.greenballs {

    background-image: url(full_url_to_collapsed_icon.png);

    background-position: left center;

    padding-left: 35px;

}
Looking much better now:
Now If we have a list of expand elements, it might be nice to have a little border that separates each element. Also a bit more vertical padding between the elements:
CSS
.collapseomatic.greenballs {

    background-image: url(https://spacedonkey.de/wp-content/uploads/2014/12/circle_plus.png);

    background-position: left center;

    padding-left: 35px;

    padding-top: 15px;

    border-bottom: 1px dotted #dfdfdf;

}
Almost complete:
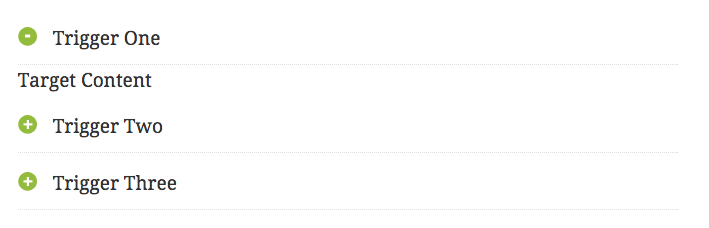
All that is left to adjust is the spacing and add bottom border to the hidden content. Add a new class for and assign it using the targclass attribute:
[expand title="Trigger One" trigclass="greenballs" targclass="gb_target"]Target Content[/expand]
CSS
.gb_target{

   padding: 15px;

   border-bottom: 1px dotted #dfdfdf;

}
And the Final result: